|
As I mentioned in an earlier post, we are again adopting a self-paced, flipped format this year - largely thanks to the necessity for our current hybrid format. This model allows students to pace themselves up to a set deadline and navigate content independently. I spend class time providing individual feedback. I wanted to talk logistics for those of you trying to navigate the same format or interested in a more flexible format. In my past post, I talked about the issues and challenges that came up. Now, I'd like to talk about organization and setting up a virtual environment. PlatformOur school adopted Schoology a few years back to help facilitate digital resources, and I have to tell you, it's quality far exceeds any other platform we tried. I know these decisions aren't usually up to the teachers (WHY THO?) but if you have any say in platforms, I would highly recommend Schoology. That said, my organization and format is designed to suit this platform. I apologize if that doesn't translate to your given platform, but it's what I've been working with for years. Concept OrganizationEver since I started teaching AP Language, I have opted to start the year with a skill-focus over using thematic units. Essentially, I want them to be familiar with all parts of the test by the end of the semester - when I usually give them a mock exam. I know other's opt to work thematically, particularly if you are required to combine AP Lang with American Literature. I like to reserve this for second semester when students can better recognize how skills transfer. For instance, when I ask them to complete a research project second semester, I can make reference to skills we practiced with synthesis. I'm sure both methods are wonderful. For me, I just like to have a strong foundation to refer back to. That's why my Schoology course is organized by skills. Here is a screenshot of my first unit of the year: Rhetorical and Critical Reading. 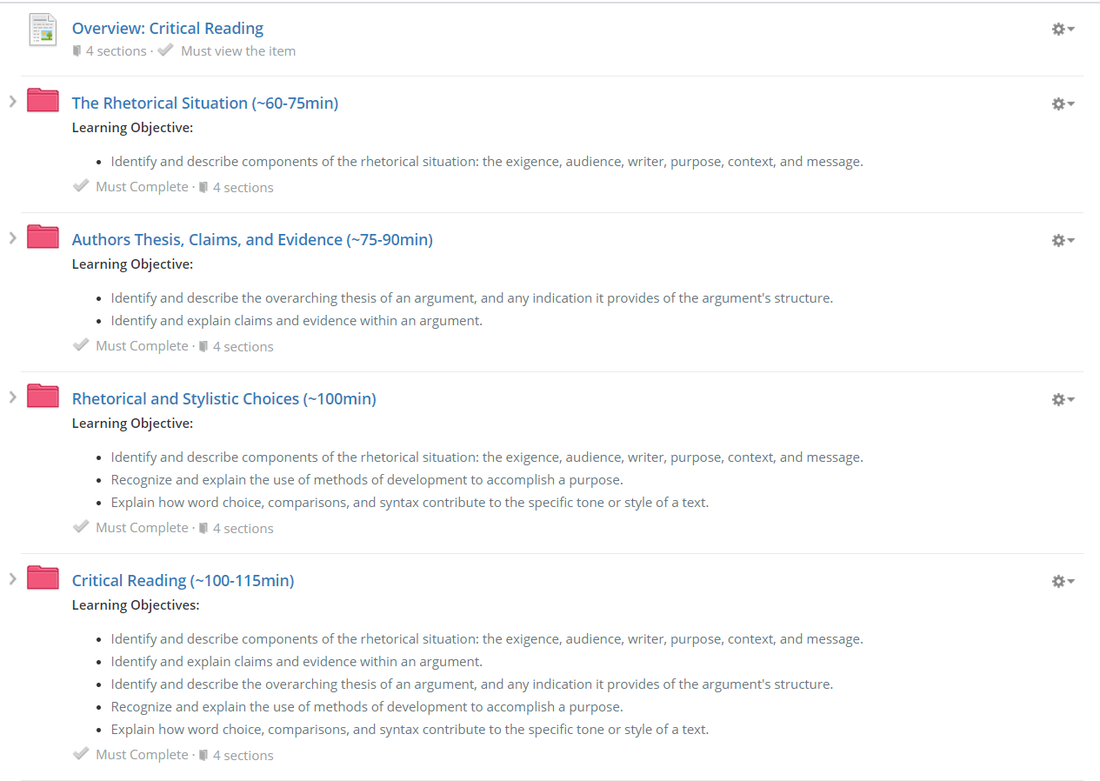 Each folder is labeled with the standards (learning objectives) covered and assessed in that folder. There is some repetition in these standards as the unit moves on, but within each folder particular standards are introduced. This is what Lesson 1: Rhetorical Situations looks like. 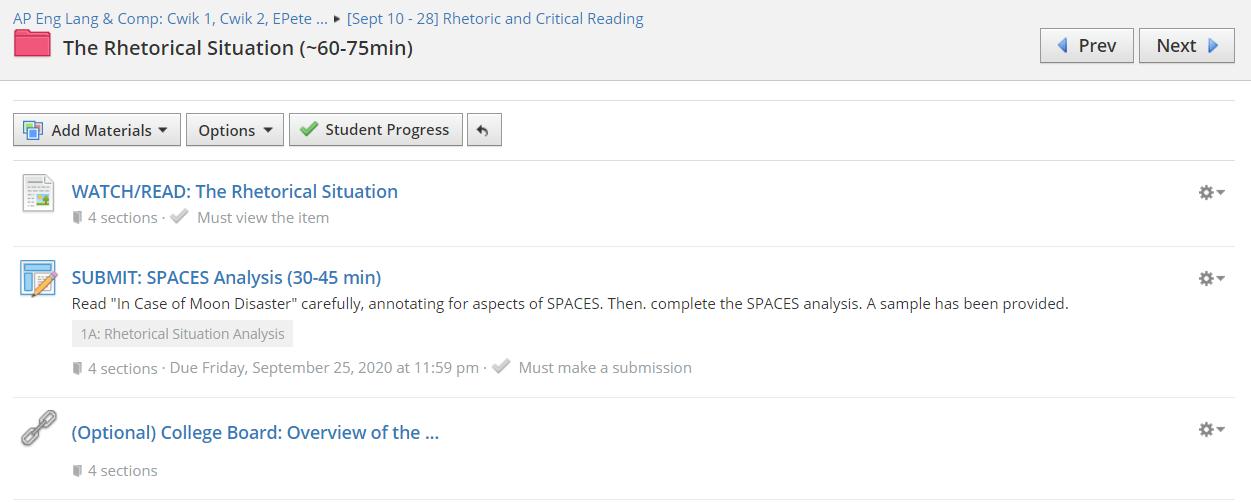 I use a Schoology "Page" to present all content (videos and texts for review). Then, the assignment (SPACES Analysis) is presented after. I also include optional materials - particularly the College Board videos from last spring - to provide another explanation of the rhetorical situation. This format of instructional videos and an assignment is used throughout my folders. IMPORTANT NOTE: Having organized by entire units, we realized that students needed a clearer breakdown. Instead of concept folders, we are breaking it down by weekly pacing. That said, it is still skill focused, just divided into different folders. Here is what Unit 2 will look like: 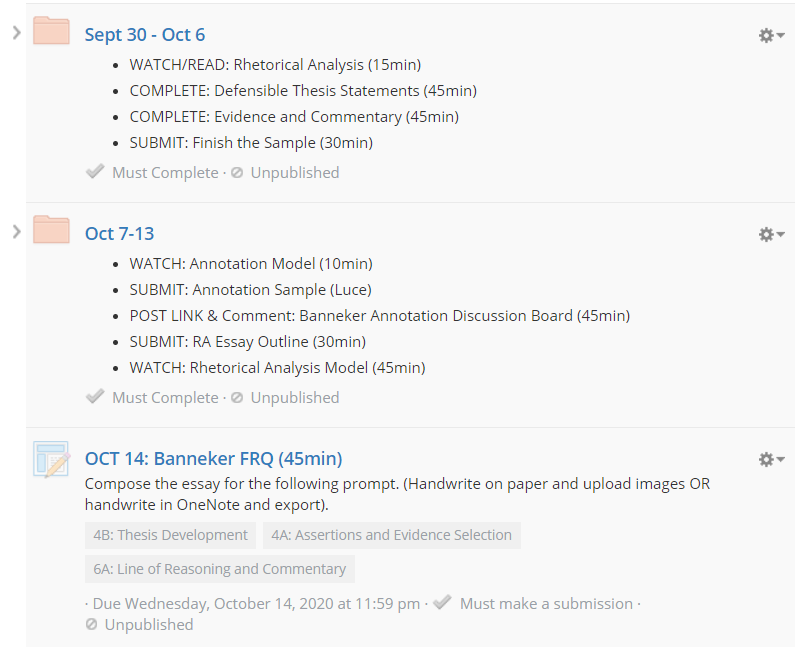 Schoology TipsOver the years, I have learned some great things about Schoology and what it can do. (Things I REALLY wish I would have known at the start). Using a combination of these things, I have been able to really simplify navigation of materials... which is a MUST at the moment. Here are some of my better tips: 1. Embedded Videos This is something I learned from our instructional coach in August. I immediately went through and updated all my lessons to use this as possible. Embedding videos eliminates a click of the mouse, and if you haven't already figured it out, the more clicks, the most likely you are to lose a kid. Embedding videos and texts keeps it simple. This is what an example looks like: 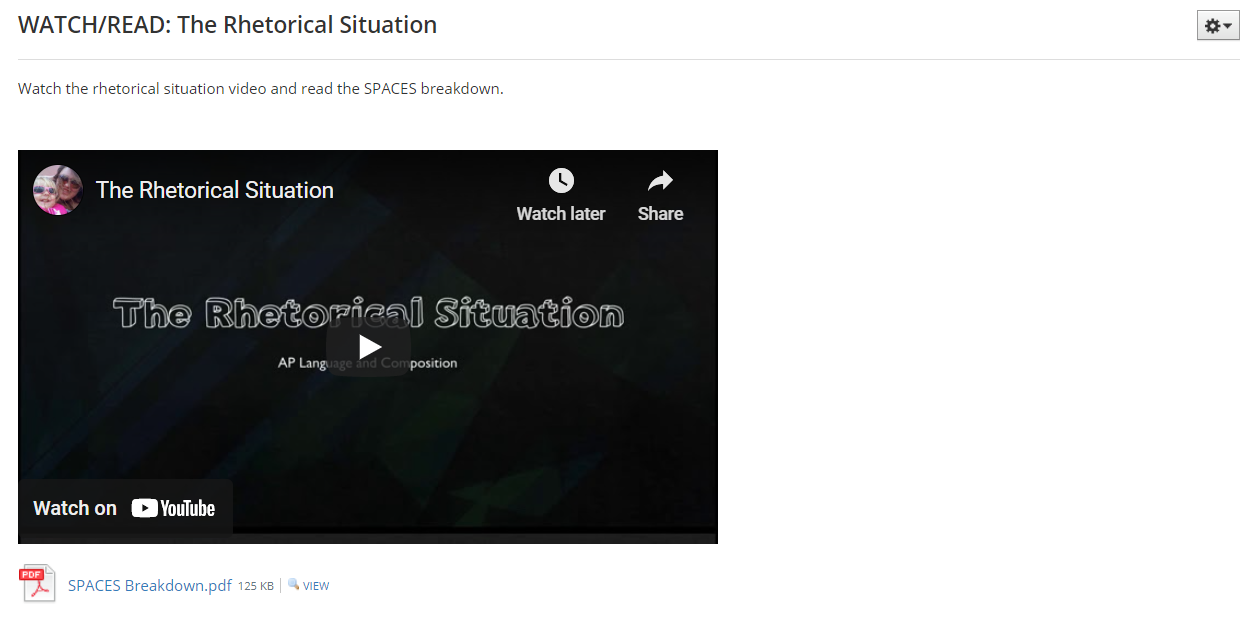 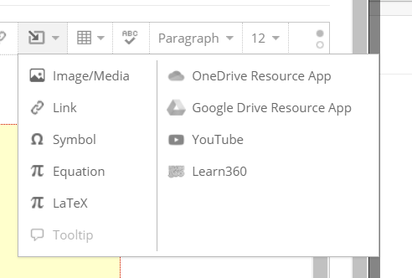 To create this, I create a Page using "Add Materials." To embed a video, I simply paste the embed code (under Share in YouTube), and paste it into the Image/Media panel.
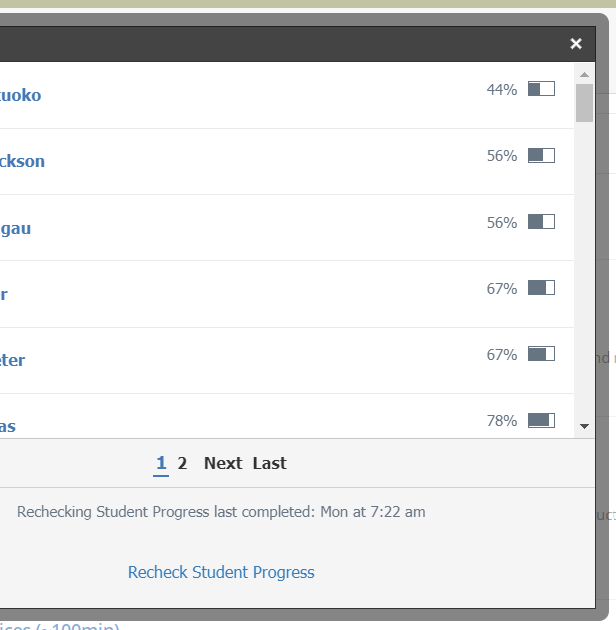
My YouTube channel has all of the different videos I use in my class. Another cool feature is to embed documents using the OneDrive Resource App or Google Drive Resource App. HOWEVER, these will not show up in the Schoology app. My kids use the app almost exclusively so I still need to attach text documents. If your kids use the Schoology desktop site, this is a great way to streamline even further! 2. Completion Folders With students completing work at all different times between live days and virtual days, I need to be able to check progress often. The Schoology completion folders make this possible while also letting the students know what needs to be completed.
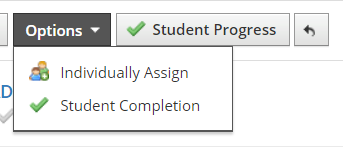
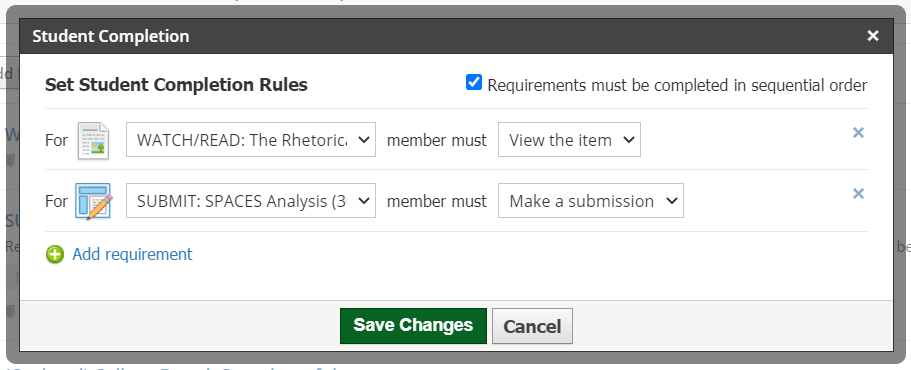 You can also create a rule that a student must earn a certain score. I just haven't had the gumption to add that layer to my courses yet. If you want students to do things in a particular order, make sure you check the box at the top. They will not be able to click on consequent items until the required content (notes, in this case) are viewed or completed.
3. Folder Description The last tip is pretty simple, but helpful, according to the kids. Use the text description of folders to present students with a checklist. I use this space to outline learning objectives or to create a visual checklist of students work for that week. If I'm being really extra...both. :) Just select edit next to the folder and enter information that will clarify what students need to do. 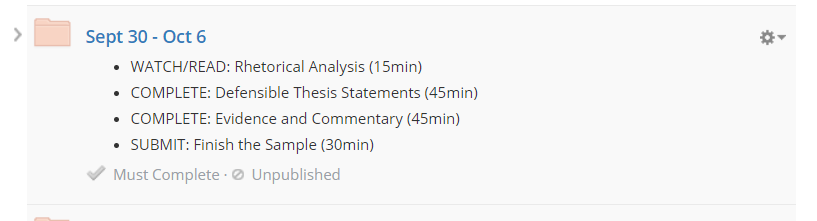 I also try to provide time estimates to give students an idea of how to best plan their time. So those are my tips and tricks! They have been helping A LOT during hybrid learning and I hope they do the same for you! sincerely, cwik
0 Comments
Leave a Reply. |
Archives
February 2024
AuthorSteph Cwikla has been a teacher since 2012, focusing on ELA curriculum. Now, she also works as an instructional coach, helping other teachers improve engagement and instruction. |
 RSS Feed